
For those of us venturing into the world of 3-D design for the fist time, the 3-D design software looks daunting! So where does a novice 3-D designer start? It turns out that the 3-D printing community had the same question! Luckily for all of us novices, there is BlocksCAD.
Let’s start at the beginning. What is this CAD and why is it important? CAD stands for Computer-Assisted Design. BlocksCAD is a simple, web-based, Scratch-like program used to teach kids (and the rest of us!) the basics of 3-D design in a drag and drop interface. The best way to understand this is the try it for yourself. Let’s go!
Visit BlocksCAD and start designing.
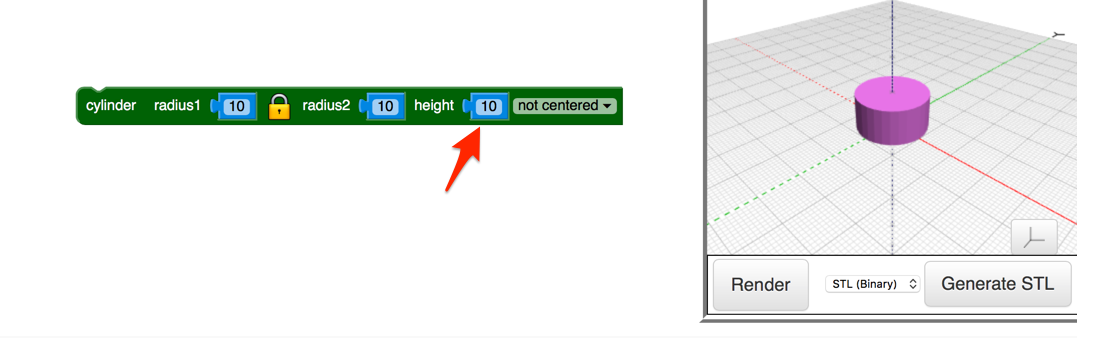
- To add a 3-D shape, click on 3D Shapes and select one. In this mini-tutorial, we are starting with a cylinder.
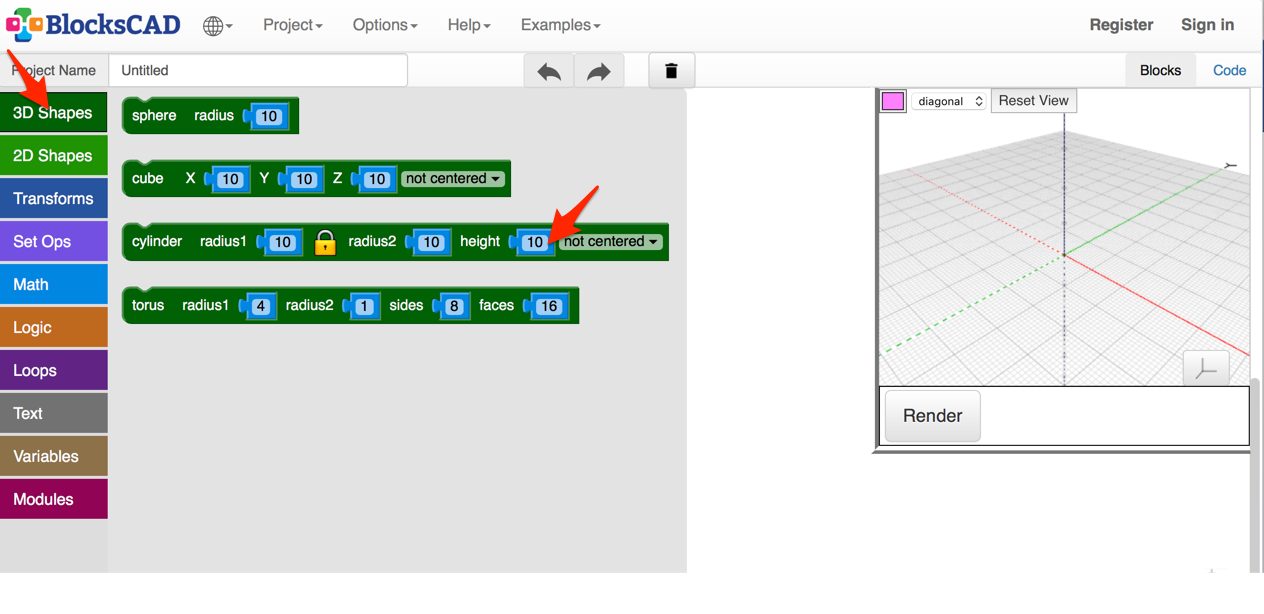
- Press the “Render” button under the grid to see the default shape of the cylinder.
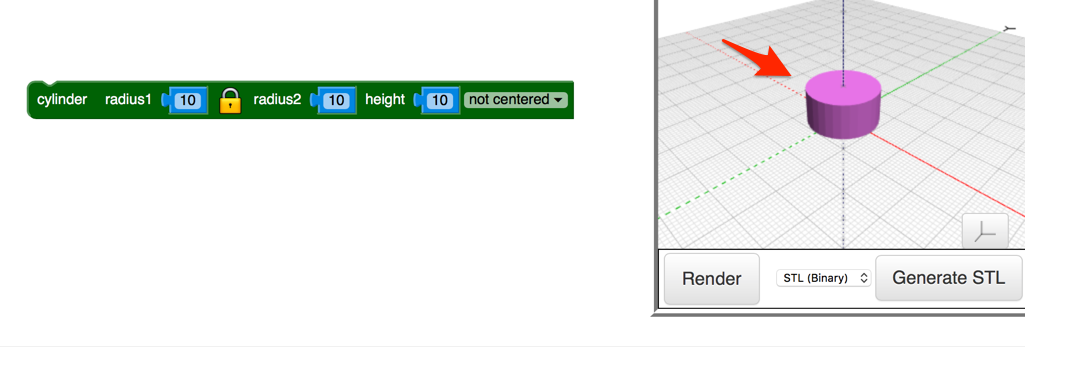
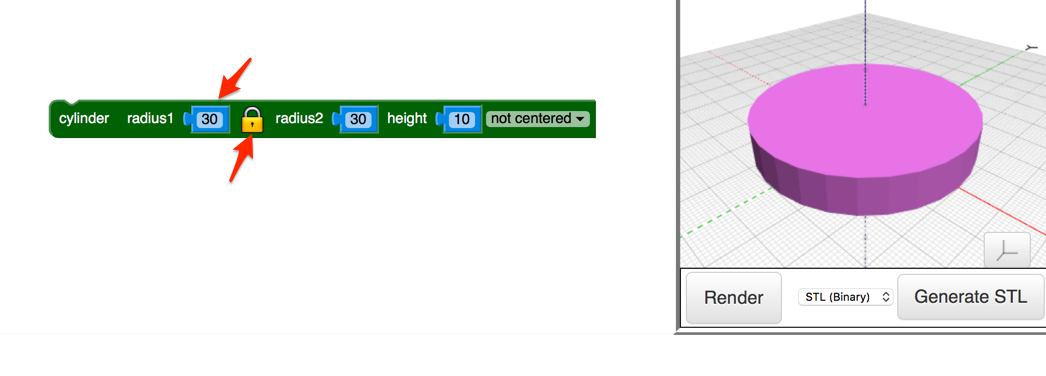
- Change radius 1 to 30 and watch the entire cylinder grow width wise. Note the the “lock” keeps the top and the bottom of the cylinder equal.
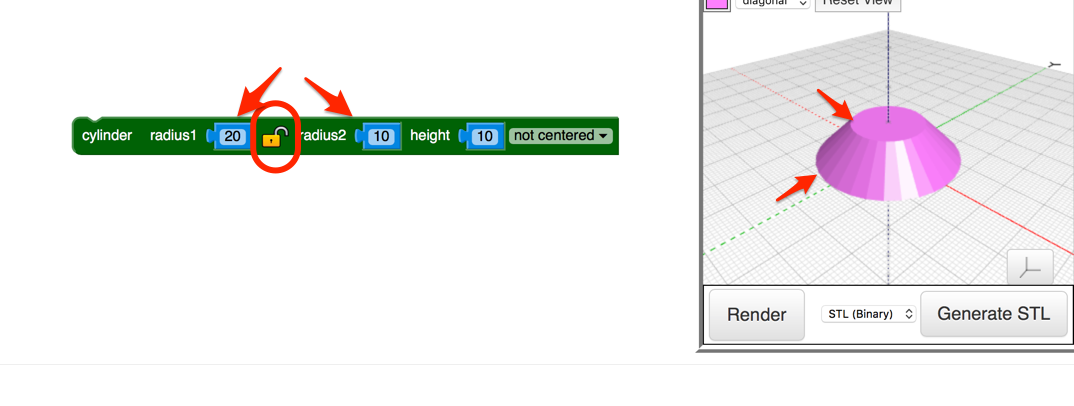
- Unlock the lock and change the radius 1 to 20 and see the shape change.
- Let’s add another 3-D object to this cylinder.
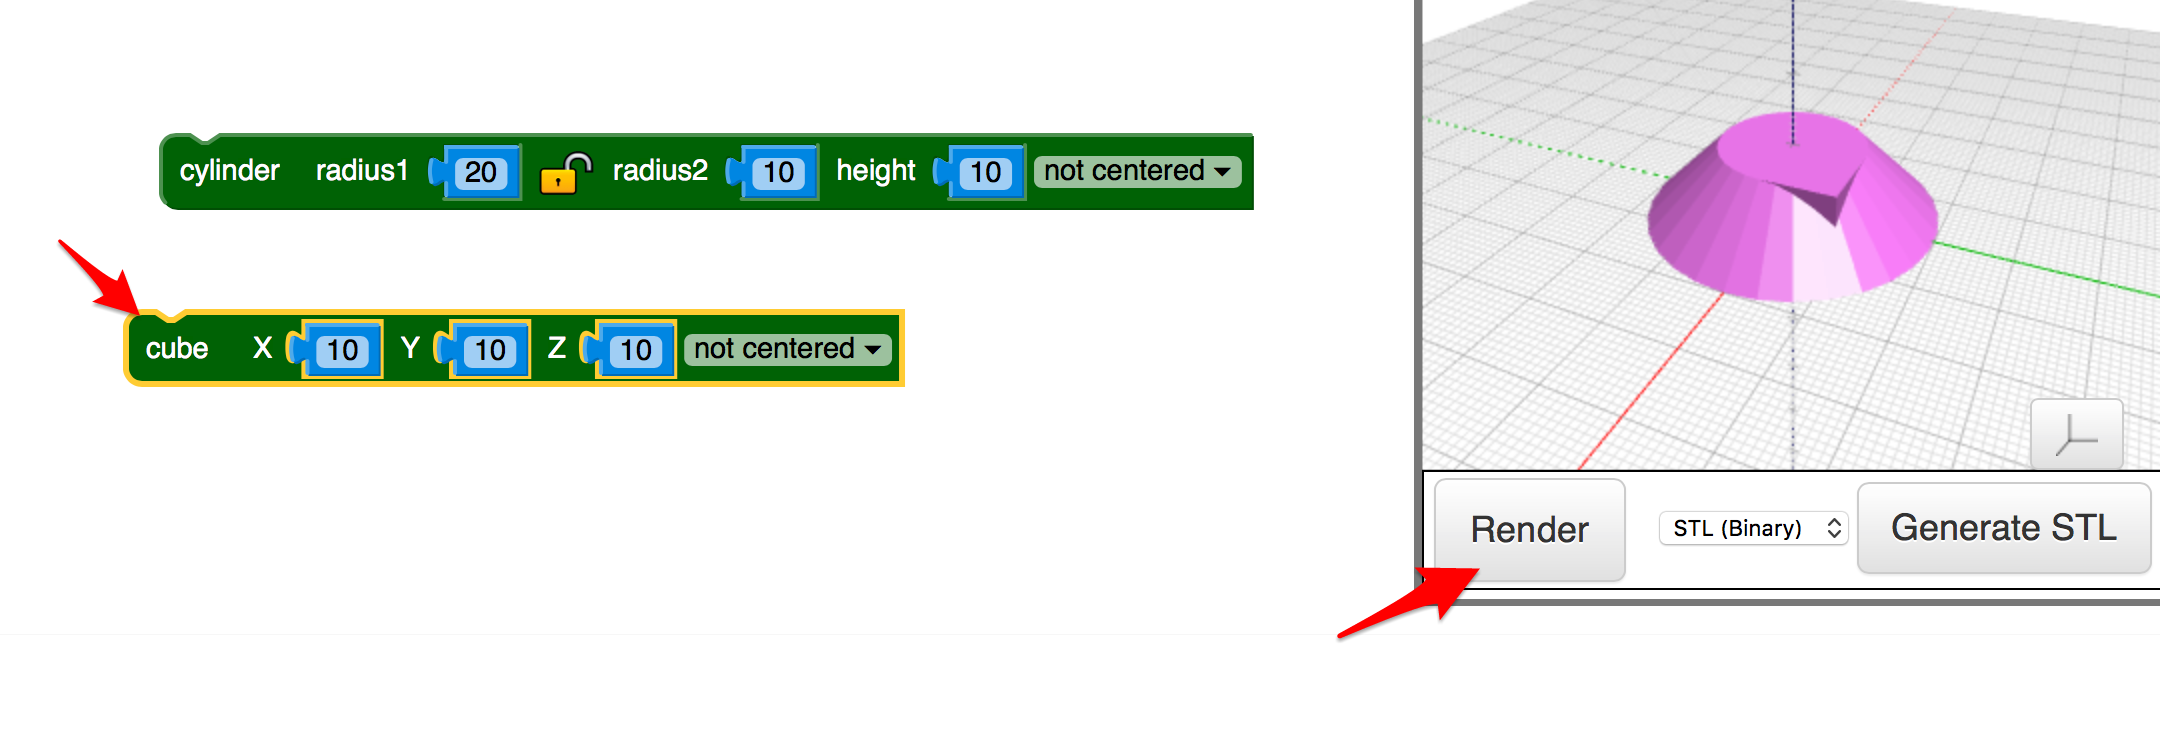
- Click on 3D Shapes and click on a cube.
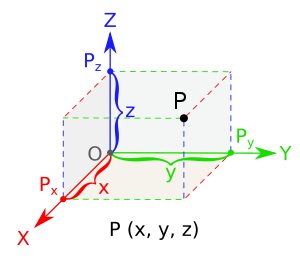
Understanding the X, Y, and Z Axis:
Unlike the old two-dimensional X/Y axis that we remember from high school geometry…

3-D design and printing adds the Z axis to create object depth.
Back to the tutorial…
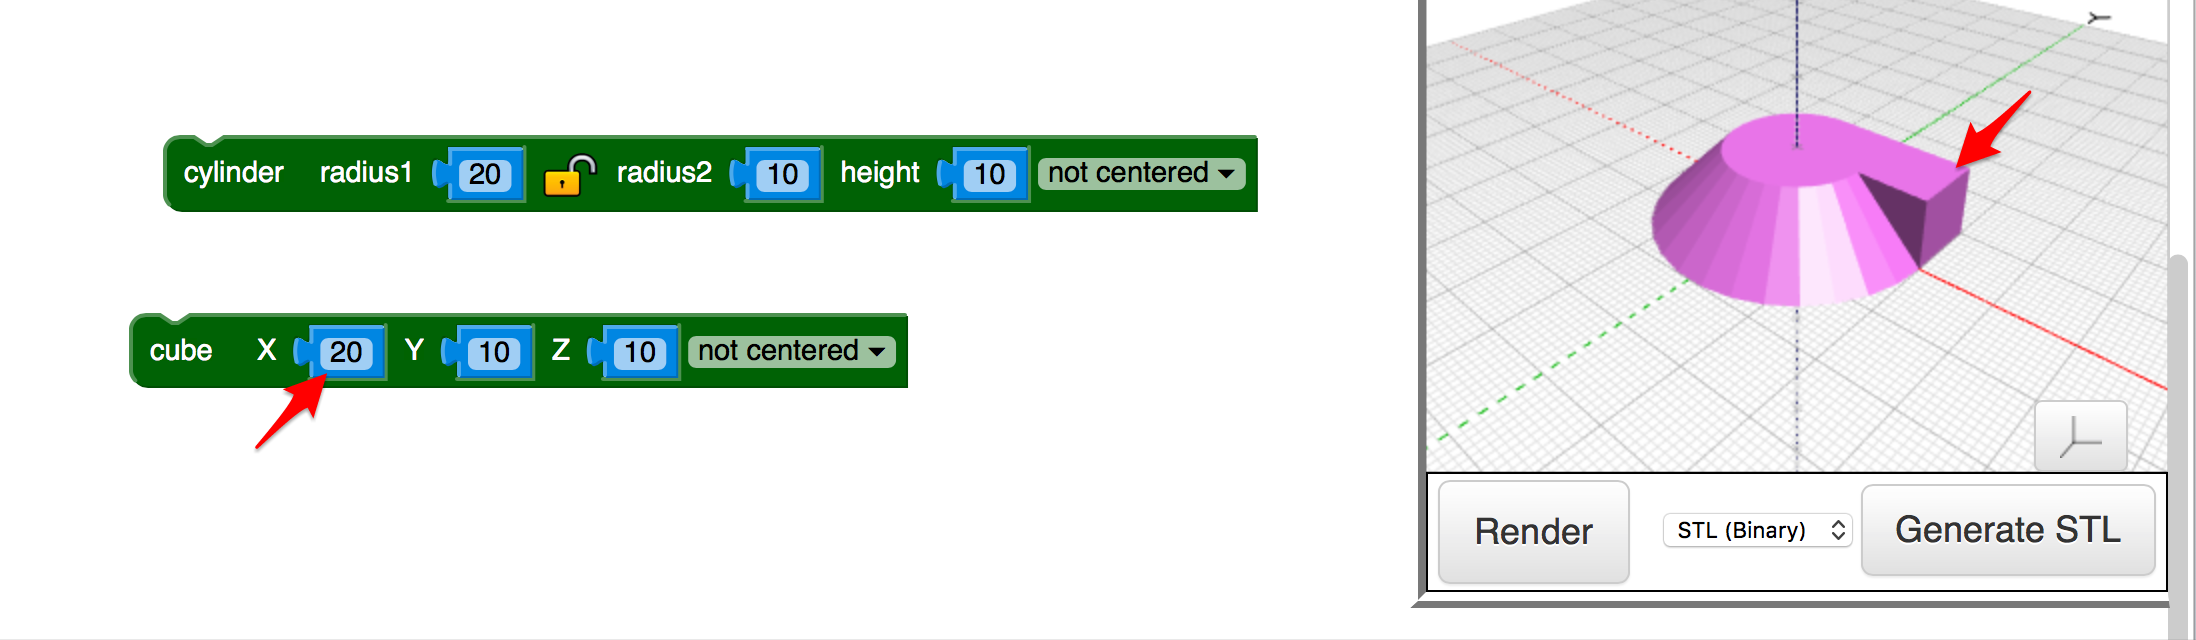
- The cube is pretty small. Let’s make it longer by changing the X axis to 20.
- Remember to click “Render” to see the update to the image.
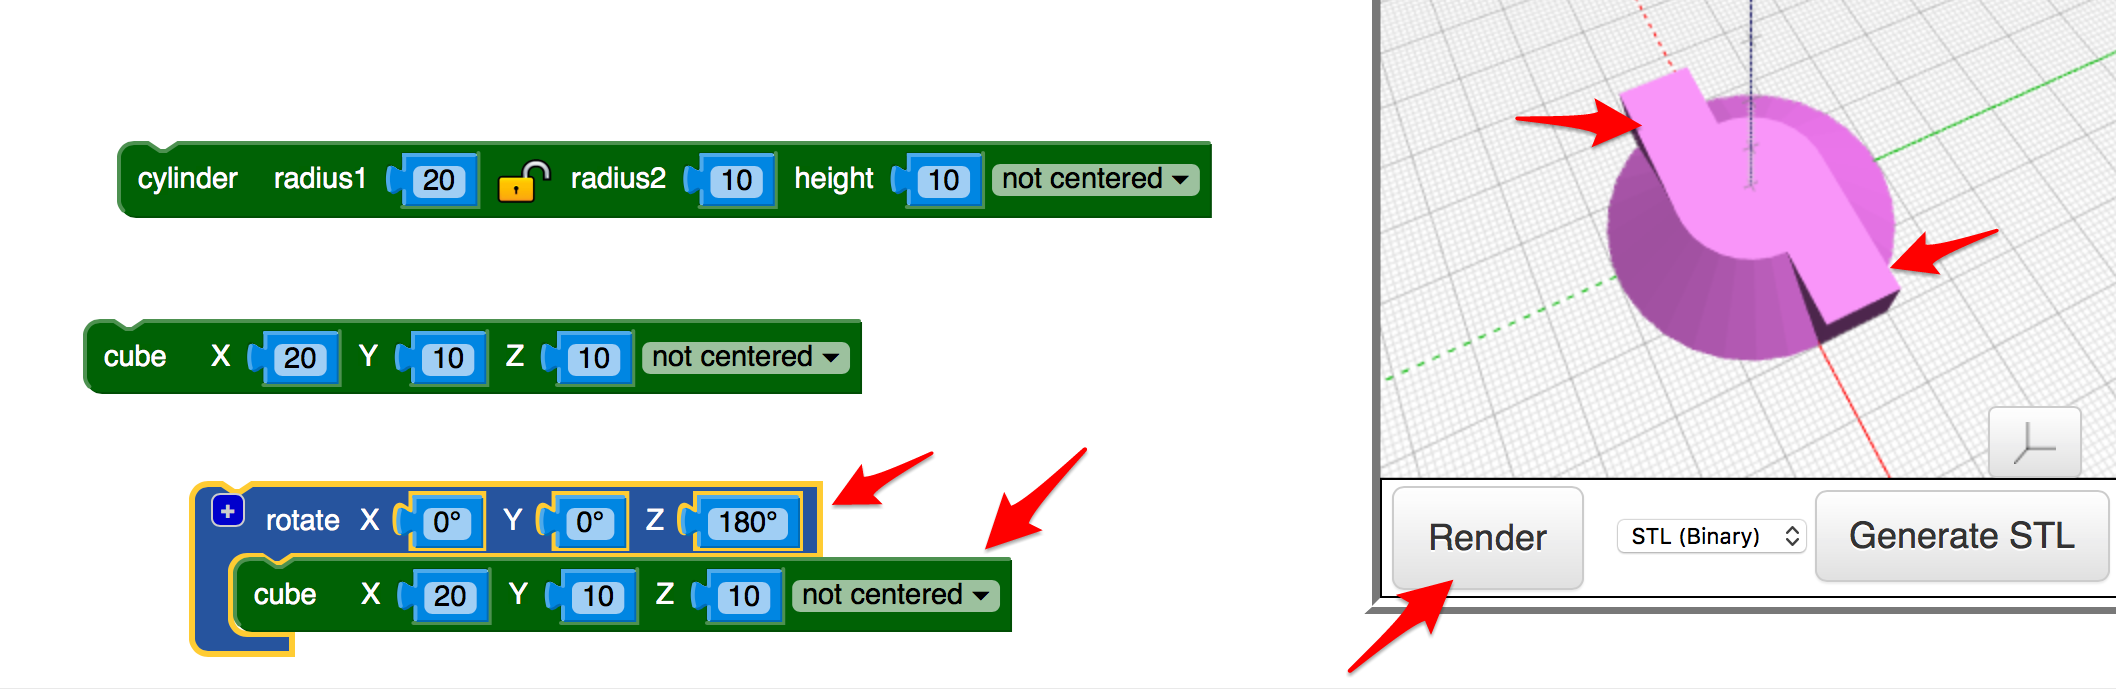
- Ok. What if I add a second cube and rotate the Z axis 180 degrees?
- Note that the “Rotate” option comes from the “Transform” sidebar option.
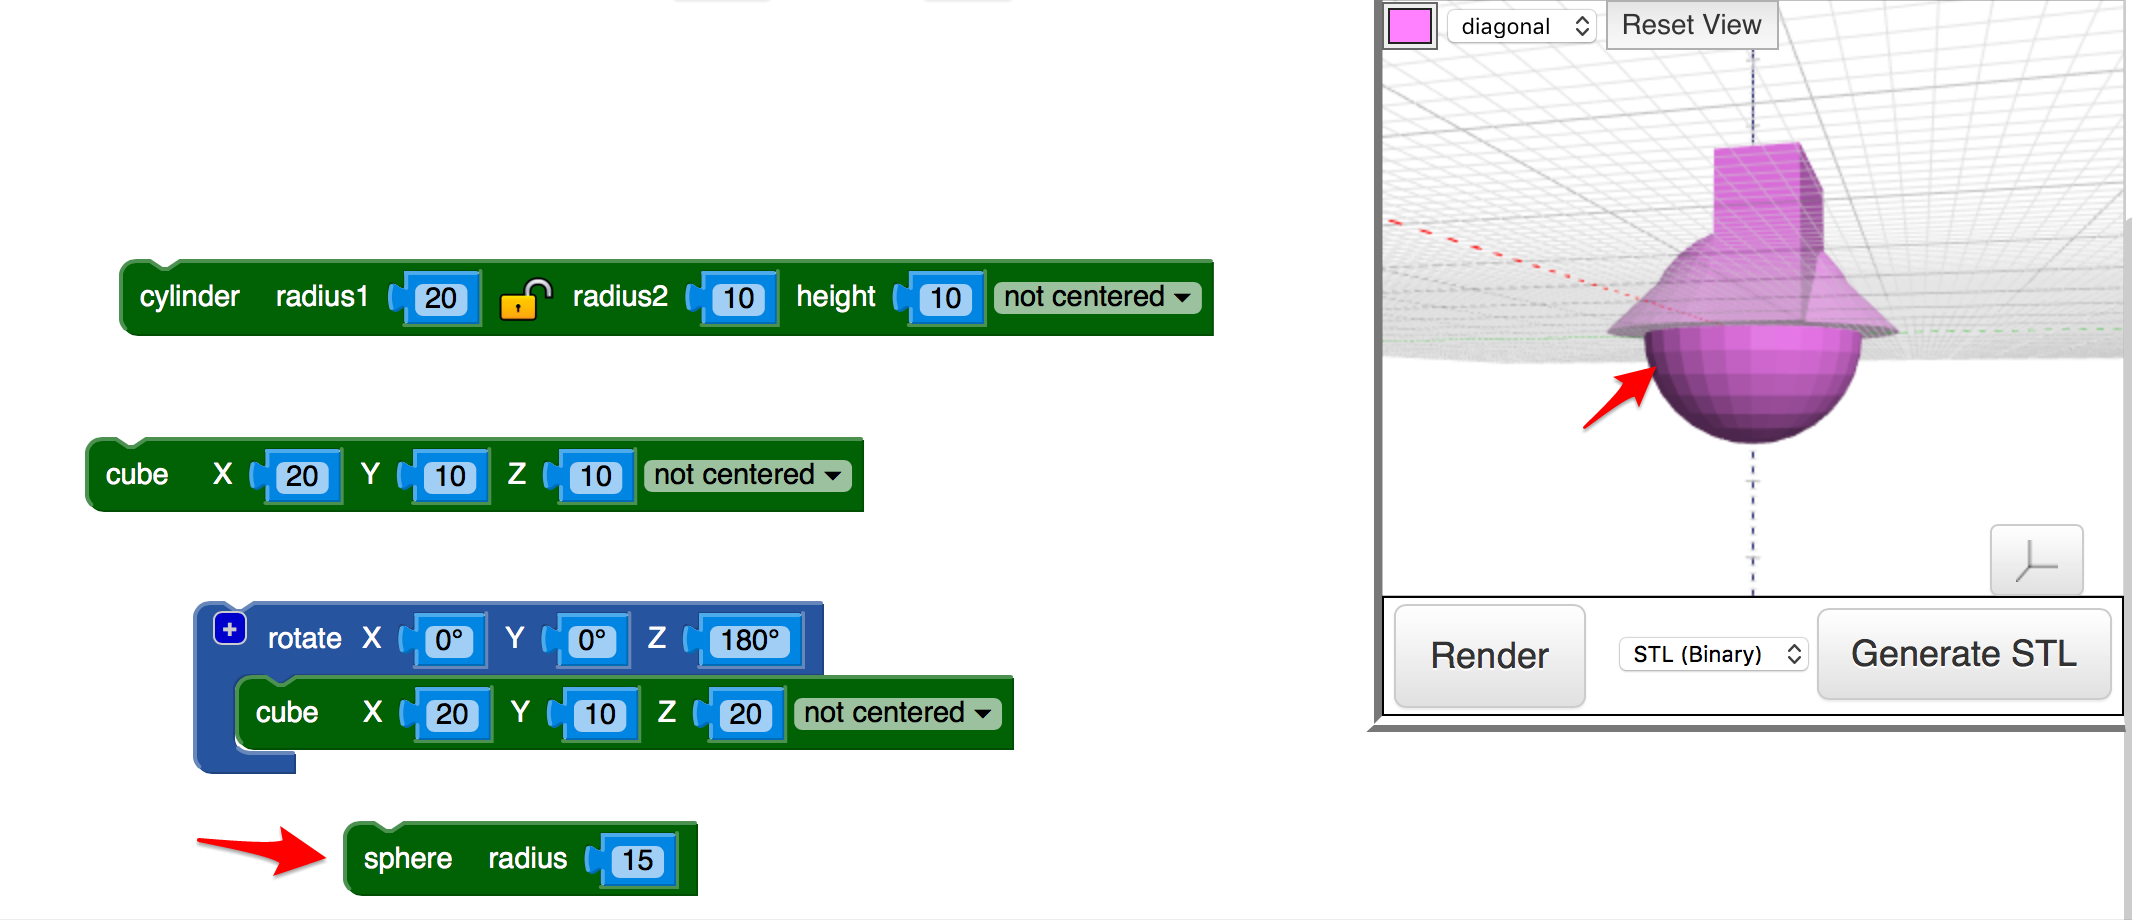
- And what if we add a sphere to the mix?
- Experiment with different radius sizes and to see how this impacts your design!
And what did we learn?
- Shapes can be built on and through and around one another.
- Which axis types affect up, down, and across.
- Did you notice how you can see different views of the object by clicking and dragging it around?