
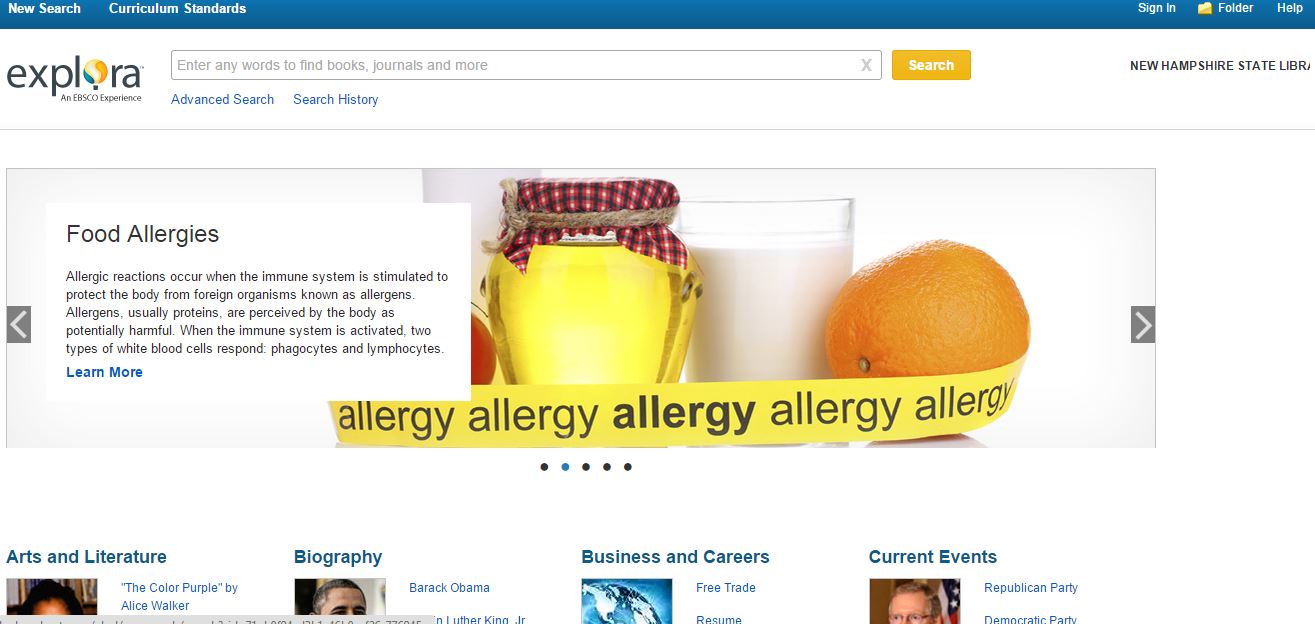
Here is how to enable the new Explora Interface in your library’s EBSCO account.
You will need access to EBSCOAdmin for the library. (School librarians: You will need access to EBSCOAdmin for each library you manage.)
- After logging into the site, you will probably default to “Customize Services.”
- Click on “Profile Maintenance.
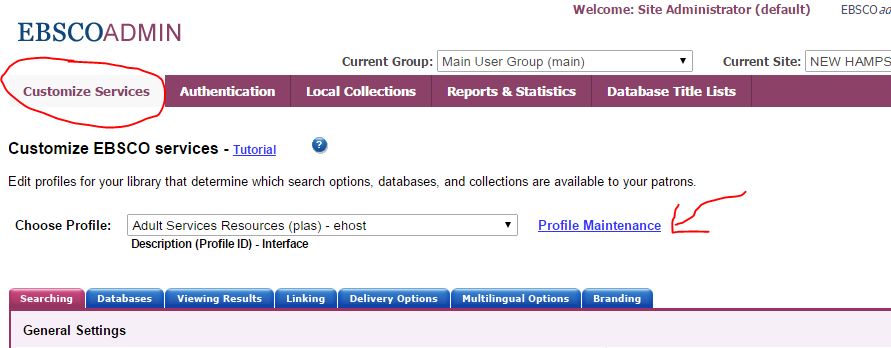 (Click to enlarge. Sorry for the ugly drawings!)
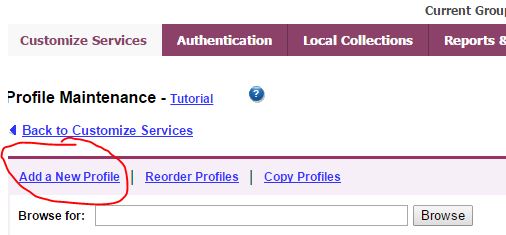
- Click on “Add a New Profile.”
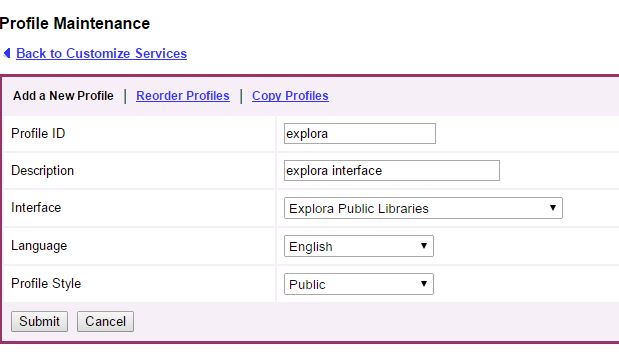
- You can give the interface whichever profile ID you want, but it makes a LOT of sense to call it explora!
- Add a brief description, too. School libraries can change the interface and profile style to schools, if desired.
- Click “Submit.”
- NOTE: This is an important screen! I’ve learned the description shows up on the live site. Use a name that makes sense to your community. Also be sure to change the interface to Explora Public Libraries (or primary or secondary). Don’t leave the interface at the default selection.)
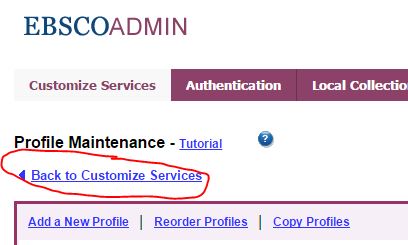
- After submitting the data, click on the link to bring you back to Customize Services…
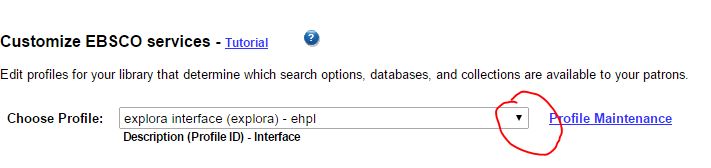
- Change the drop-down option to “Explora interface (explora) – ehpl.”
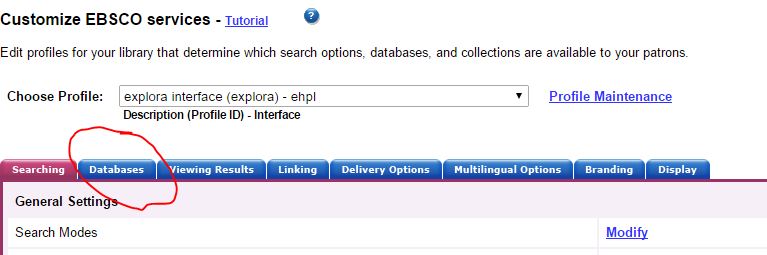
- Once the page reloads, click on the databases tab.
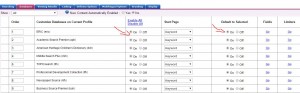
- For each database you enable, you will need to make sure that database is also selected by default. Not having both selected will result in a serious error.
- Be sure to “Submit” your changes!
- Click on “View Changes in EBSCO” to see the live site!
- If you wan to reorder the main menu to show Explora — or another other database — in a higher, more prominent position, here’s how:
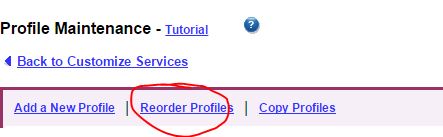
- Click on “Profile Maintenance…”
- Click on “Reorder Profiles.”
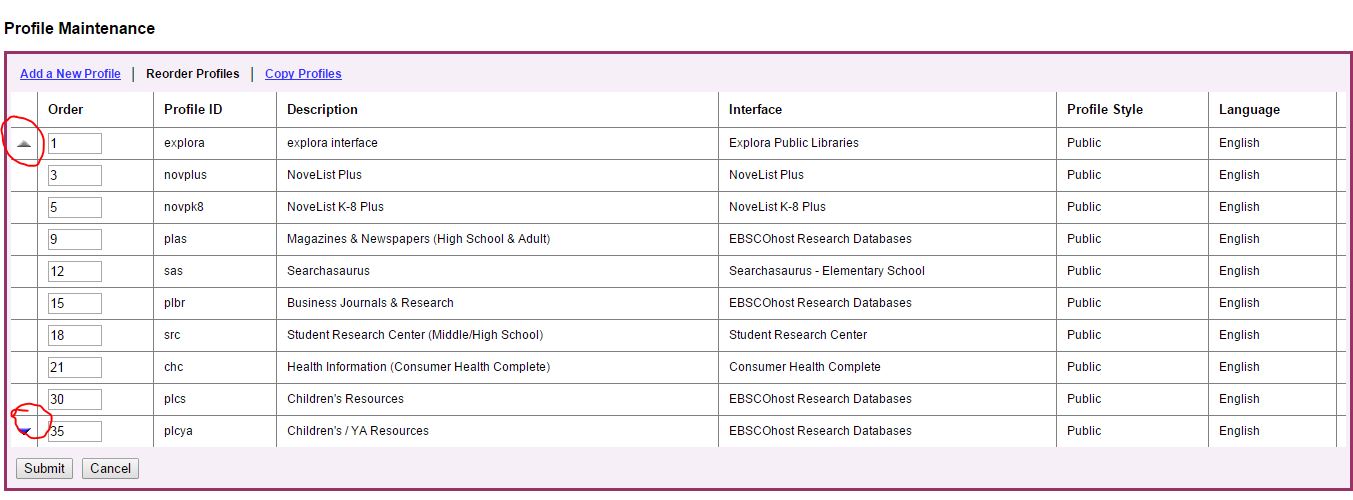
- Renumber the databases in order of how you wish to see them.
- Note that you will probably have to press the up and down arrows to find Explora.
- Hint: Give yourself SPACE between each number. This will allow you to squeeze in databases without having to change the order of each database each time you want to change the order!
- Submit your changes.
Enabling the New Explora Interface in the EBSCO Periodical Databases
Thanks bundles for the tutorial. It worked!
You’re welcome, Jim!